
Preview handles most fillable PDFs on Mac: open the file, click a field, type your answer, and press Tab to move to the next one. When a form isn't interactive, add text boxes with Markup instead, or try a no-upload browser tool like FlowPDF for a quick, private alternative. Whichever route you take, always export or save as PDF at the end. That last step is what actually locks your entries in place.
TL;DR:
- Preview's auto-detect feature works well for most interactive forms on macOS Sonoma and later, but some PDFs may require manual activation of the form filling toolbar for better results.
- For non-interactive or scanned PDFs, adding text boxes with Markup helps simulate fillable fields, but careful matching of fonts and margins maintains a professional appearance.
- Creating and adding signatures with Preview is straightforward using the trackpad, camera, or iPhone/iPad, with signatures being saved for future use and needing resizing before exporting.
- Browser-based tools like FlowPDF process files locally without uploading to the cloud, making them suitable for sensitive documents across multiple devices or platforms.
- Always export or save the PDF after filling to permanently flatten entries and avoid losing work or having editable fields remain visible.
Table of Contents
- Step-By-Step: How to Fill a Fillable PDF Using Preview
- How To Fill Non-Fillable PDFs With Text Boxes
- How to Create and Add a Signature in Preview
- A Private, No-Upload Browser Option When You Prefer the Web
- Save, Export, and Share: Make the Filled Form Permanent
- Troubleshooting Common PDF Form Problems on Mac
- Preview vs. a Browser Tool: An Editorial Take
- Fill and Sign PDFs Locally in Your Browser With FlowPDF
- Sources
- FAQ
Step-By-Step: How to Fill a Fillable PDF Using Preview
Most PDF forms you download from banks, schools, or government sites are already built with fillable fields. Preview, the app that opens automatically when you double-click a PDF on Mac, reads those fields without any setup on your part.
Here's the process from start to finish:
- Open the PDF. Double-click it, or right-click and choose Open With > Preview if necessary.
- Look for the AutoFill Form button. On macOS Sonoma and later, Preview auto-detects form fields and offers this button in the toolbar when it recognizes an interactive form.
- Click into a field and type. Fields usually highlight in light blue when you hover over them.
- Press Tab to jump to the next field. This beats clicking around manually, especially on long forms with a dozen or more entries.
- Use contact-card AutoFill for repeat information. Preview can use your Mac's Contacts information to help fill in repeated details on forms.
- Save your work. Go to File > Export, or use Print > Save as PDF, to flatten your entries into the document permanently.
Field detection isn't perfect. Some PDFs are technically fillable but built sloppily, so Preview only recognizes half the fields. That's when the Show Form Filling Toolbar option, found under the View menu, becomes useful. It forces Preview to display form controls even when the AutoFill button doesn't appear on its own.
Pro Tip: If Tab skips a field entirely, that field likely isn't tagged as interactive in the PDF's underlying code. Click into it directly instead of relying on the Tab key, or switch to the Markup workaround below.
How To Fill Non-Fillable PDFs With Text Boxes
Plenty of PDFs, especially scanned contracts or older government forms, have no interactive fields at all. Clicking around does nothing because there's nothing to click into. Preview's Markup toolbar solves this by letting you drop plain text boxes anywhere on the page.
Open Markup by clicking the toolbox icon in Preview's toolbar, then select the text tool (it looks like a small "A" in a box). Click where you want to type, and a text box appears that you can drag into position.
A few things make the result look clean instead of sloppy:
- Match the font to the document. Preview lets you set font, size, and color from the Markup text options, so pick something close to what's already printed on the form.
- Use the same font and size. You can duplicate a text box by holding Option and dragging it after setting size and font, for consistent appearance.
- If you need a single page from a different PDF, open both files, turn on View > Thumbnails, and drag the page thumbnail from one sidebar into the other.
- Check margins before you save. Text boxes placed too close to a page edge get cut off when printed.
Pro Tip: Standard fonts like Helvetica or Arial render more predictably than decorative fonts when a document gets flattened or printed later, so stick with the basics even if the original form uses something fancier.
How to Create and Add a Signature in Preview
Preview treats a signature the same way it treats your typed answers: as a permanent mark once you export the file. You can build one of three ways.
- Trackpad: Click the signature icon in the Markup toolbar, choose the trackpad option, and sign with your finger. It takes two tries for most people to get a signature they like.
- Camera: Sign your name on plain white paper, hold it up to your Mac's camera, and Preview converts it into a digital image automatically.
- iPhone or iPad: If your devices share an Apple ID and Continuity is enabled, Preview can capture a signature drawn directly on your phone or tablet.
Once created, signatures save inside Preview for reuse across future documents; you can delete an old one from the signature list if it's no longer accurate. After placing a signature, resize it to fit the signature line, then lock it in by exporting the file so it can't be dragged around by accident later.
If the document is confidential, sign it locally rather than uploading it somewhere to get a signature added. Fewer hops between your Mac and the internet means fewer chances for the file to end up somewhere you didn't intend.

A Private, No-Upload Browser Option When You Prefer the Web
Preview covers most cases, but it's a Mac-only app, and it assumes you're working on the same machine the whole time. If you're switching between a work laptop and a personal Mac, or you just want a browser tab instead of an app window, a no-upload browser tool fills that gap without sending your document anywhere.
Some browser-based tools process your file locally rather than sending it to a remote server, which is important for privacy when filling out sensitive documents. FlowPDF's fill and sign tools run through the same no-upload model, so the document never leaves your device even though you're using a website instead of an app.
Getting started takes three steps:
- Go to the Fill PDF Forms tool or the Sign PDF tool, depending on what you need.
- Follow the on-screen steps to load your file and complete the fields or add your signature.
- Export the finished document, which flattens your entries the same way Preview's export does.
These tools often do not require subscriptions or add watermarks to finished pages, distinguishing them from many paid competitors in the same space.
| What you need | Best fit |
|---|---|
| Working only on your own Mac | Preview |
| Switching devices mid-task | FlowPDF |
| Avoiding uploads entirely | Either (both process locally) |
| No cost, no signup | FlowPDF |
Save, Export, and Share: Make the Filled Form Permanent
Typing into a field and closing the window is not the same as saving your work. Preview holds your entries in memory until you explicitly commit them, and that's the step people skip most often.
Use File > Export, or Print > Save as PDF, to save and flatten your filled form before closing. Either command flattens your text and signature into the page itself, so the data can't be accidentally deleted or shifted later.
Here's where things commonly go wrong:
- If you opened the PDF inside Safari's built-in preview rather than the standalone Preview app, changes may not persist unless you export explicitly first.
- Large scanned forms can balloon in file size after you add markup; FlowPDF's compress tool or Preview's own export quality settings can shrink it back down.
- Keep an unflattened copy somewhere if you might need to edit the form again later, since a flattened PDF can't have its fields edited the normal way anymore.
- Before sending a signed document to anyone, always send the flattened version, never the working copy, so the recipient can't accidentally alter your entries.
Losing an afternoon's work to an unsaved PDF is common enough that it's worth treating export as the final, non-optional step every single time, not just when you remember to.
Troubleshooting Common PDF Form Problems on Mac
Most issues with filling PDFs on Mac trace back to one of a handful of causes, and each has a fast fix.
- Fields won't respond to clicks. Turn on Show Form Filling Toolbar from the View menu, or fall back to Markup text boxes if the form genuinely has no interactive fields.
- Text looks different once printed. Stick to common fonts like Helvetica or Arial, and always check Print Preview before sending anything official.
- Duplicate fields don't line up. Option-drag an existing text box to copy its exact size and font instead of building a new one from scratch each time.
- Tab skips a field you need. That field may not be tagged correctly in the PDF's code; click into it manually rather than relying on Tab.
- You're not sure the file is ready to send. Confirm the signature is placed, the file is flattened, and the filename reflects the current version before attaching it to an email.
Pro Tip: Rename your file the moment you finish, something like "Lease_Signed_v2," so you never accidentally send an earlier draft buried in your downloads folder.
Preview vs. a Browser Tool: An Editorial Take
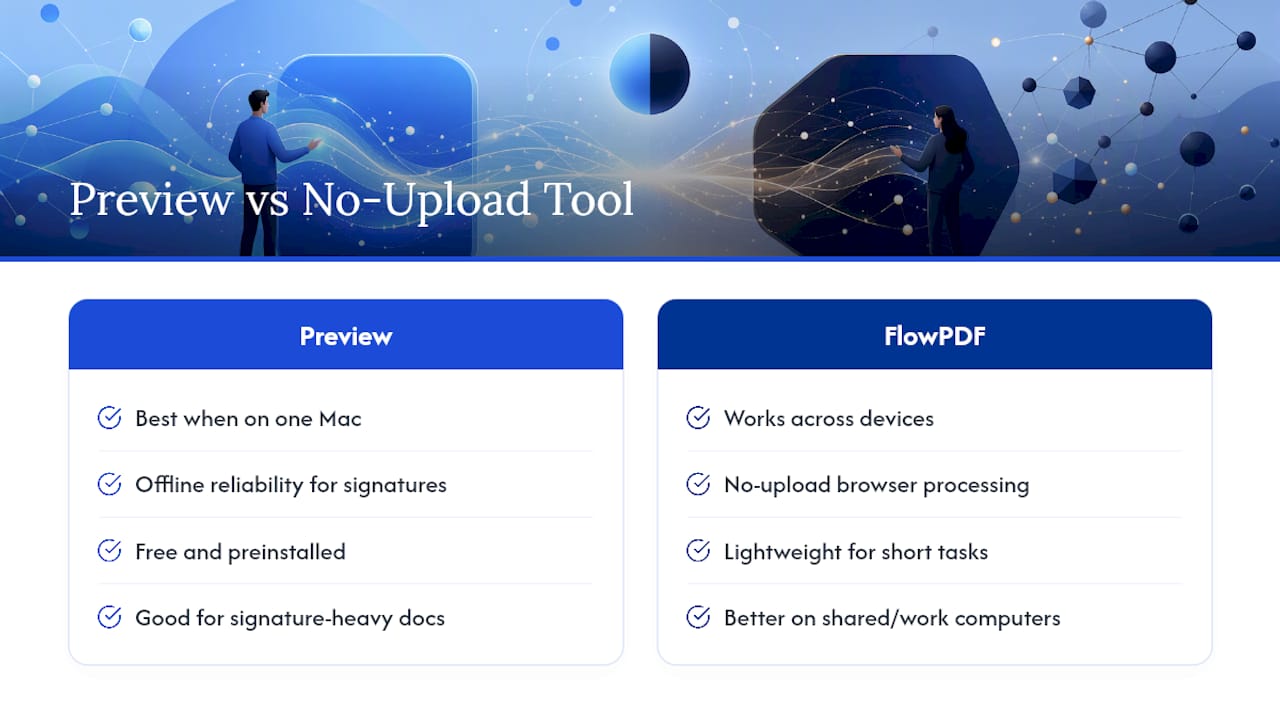
Preview wins for anyone working entirely on one Mac, especially for signature-heavy documents where offline reliability matters more than convenience. It's free, it's already installed, and it doesn't ask anything of you beyond opening a file.
FlowPDF earns its place when you're bouncing between devices or just don't want to open a heavier app for a five-minute task. The no-upload design matters more than most people realize until they need to sign something sensitive from a shared or work computer. Speed and control aren't opposites here. Pick based on where you're sitting and what's on the page.
— Ronald Ang
Fill and Sign PDFs Locally in Your Browser With FlowPDF
FlowPDF is the browser-based alternative to installing separate PDF software when all you need is a quick, private form fill. It skips the upload step entirely, so your tax form, lease, or medical intake sheet never leaves your device, and it does this without charging a subscription or stamping a watermark across your finished page.
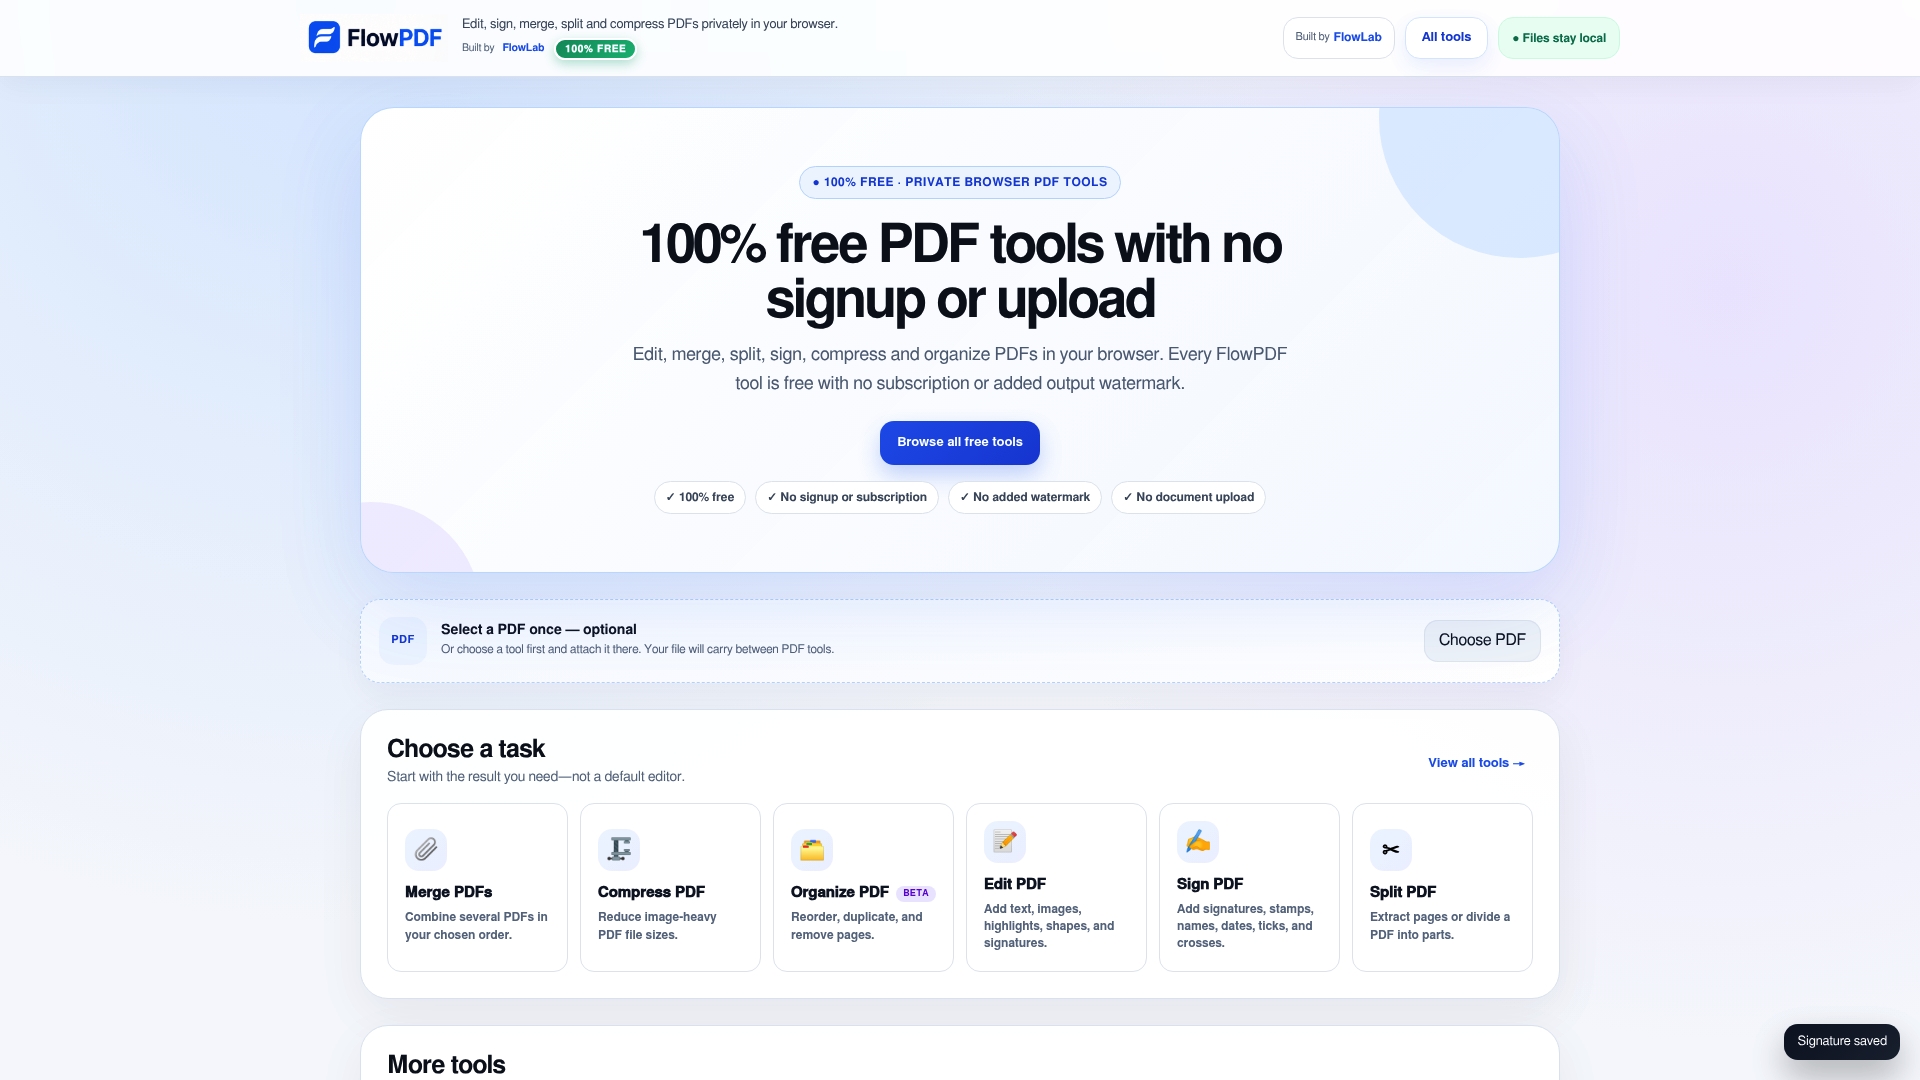
Try the Fill PDF Forms tool for interactive forms, or head to Sign PDF if all you need is a signature added to an existing document. Need to clean up a file before sending it, trim extra pages, or shrink the size? The edit PDF tool covers those tasks in the same no-upload environment. Open the tool that matches your task, follow the steps on screen, and export the finished file when you're done. It's a fast option worth bookmarking the next time a form lands in your inbox.
Sources
The steps above draw on Apple's own documentation and independent reporting on how Preview actually behaves in daily use.
- Fill out and sign PDF forms in Preview on Mac - Apple Support
- How to take advantage of Preview's form-filling helper in macOS | Macworld
- Easy ways you can edit PDFs directly from your Mac | Lifehacker
FAQ
Can I Fill in a PDF Form on My Mac?
Yes. Preview, Apple's built-in app, opens interactive PDF forms and lets you click into fields, type, and save without installing anything extra.
How Do I Make a PDF Fillable on Mac?
Preview can't convert a flat scan into a truly interactive form, but you can add text boxes with the Markup tool to simulate fillable fields anywhere on the page.
How Can I Fill Out a PDF Form Quickly?
Use Tab to jump between recognized fields in Preview instead of clicking each one, and turn on AutoFill for your contact details to skip retyping your name and address.
How Do I Fill Out a Form on My Mac Without Uploading It Anywhere?
Preview processes everything locally since it's a native Mac app, and browser tools like FlowPDF offer the same local processing if you'd rather work in a browser tab.
Do I Need to Save or Export After Filling a PDF?
Yes, always. Use File > Export or Print > Save as PDF to flatten your entries permanently, since unsaved changes can be lost if you close the file without exporting.