To shrink a PDF on Mac fast, open it in Preview and export it through a Quartz filter, which is the quickest built-in method on any Mac. If you need finer control over quality or don't want to upload a sensitive file anywhere, a custom Quartz filter or FlowPDF's local, in-browser compressor gets you there. Just know that aggressive compression can blur images and thin out text, so always check your results before you send the file off.
TL;DR:
- Custom Quartz filters allow for finer control over compression quality, balancing image clarity and file size better than default settings.
- Using Automator to create quick actions streamlines repeated compression tasks, especially when combined with custom filters.
- Online tools like FlowPDF offer secure, local processing for sensitive files and additional editing features beyond compression.
- Pre-cleanup actions such as deleting unnecessary pages, cropping margins, and downsampling images significantly improve compression effectiveness.
- Most PDFs are compressed minimally if they contain mainly text or vector graphics, requiring different approaches for image-heavy files.
Table of Contents
- How Do You Compress a PDF on Mac Using Preview?
- Can a Custom Quartz Filter Give You Better Quality Than the Default?
- How Do You Automate PDF Compression on Mac?
- When Should You Use an Online Compressor Instead of Preview?
- What's the Fastest Way to Shrink a PDF Before You Even Compress It?
- Why Didn't Compression Shrink Your PDF File Size?
- Why Built-In Tools Beat Most Online Converters, Most of the Time
- Compress Your PDFs Without Ever Uploading Them
- Sources
How Do You Compress a PDF on Mac Using Preview?
Preview is already on your Mac, and it handles the most common compress PDF on Mac request in under a minute. No downloads, no accounts, no fuss.
Here's the sequence:
- Open the PDF in Preview.
- Choose File > Export (not Export as PDF, which skips the compression options).
- Set the Format dropdown to PDF.
- Click the Quartz Filter menu and select Reduce File Size.
- Click Save, ideally under a new file name so you keep the original.
Preview's Export window also shows two checkboxes worth knowing: Optimize images for screen and Save images as JPEG. Check "Optimize images for screen" when your PDF is going to email or a website and doesn't need print resolution. Check "Save images as JPEG" for photo-heavy files where a small quality drop is an acceptable trade for a much smaller file.
Pro Tip: A scanned PDF with full-resolution photos can see a substantial file size drop using Reduce File Size, though Apple's own documentation warns that both file size and image quality vary depending on which options you pick. Text-heavy documents barely shrink at all, since there's little to compress in the first place.
Can a Custom Quartz Filter Give You Better Quality Than the Default?
The built-in Reduce File Size filter is a blunt instrument. It applies one aggressive setting to every image on every page, which is why photos sometimes come out blocky. Building your own filter in ColorSync Utility gives you a dial instead of a switch.
Here's the process:
- Open ColorSync Utility (found in Applications > Utilities).
- Go to the Filters tab and duplicate the existing Reduce File Size filter.
- Add an Image Effects Components step, then add both Image Compression and Color Image Sampling.
- Set JPEG compression to a moderate quality setting and downsample images to a resolution suitable for onscreen viewing or email, which is plenty for onscreen viewing or email.
- Name and save the filter, then apply it from Preview's Export menu the same way you'd apply Reduce File Size.
Custom filters and Automator quick actions like this one let you tune the balance between size and quality instead of accepting Apple's default, according to MacMost's walkthrough of the process. Test with copies first. Users experimenting with custom ColorSync filters report that a medium JPEG quality setting holds up better against the default filter's tendency to overcompress, per discussion on Apple Stack Exchange.
How Do You Automate PDF Compression on Mac?
If you're compressing PDFs regularly, doing the Preview steps by hand every time gets old fast. Automator turns your custom filter into a one-click tool.
- Open Automator and create a new Quick Action.
- Set "Workflow receives current" to PDF files in Finder.
- Search the actions library for Apply Quartz Filter to PDF Document and drag it into the workflow.
- Choose your custom filter (or Reduce File Size) from the dropdown.
- Save the Quick Action with a clear name like "Compress PDF."
You'll get a choice between overwriting the original file or saving a copy. Choose the copy option unless you're confident in the filter's output. Automator workflows can also be saved as folder actions or standalone drag-and-drop apps, which is handy if you're compressing a batch of scanned receipts or documents dropped into a shared team folder, as MacMost notes in its Automator breakdown.
When Should You Use an Online Compressor Instead of Preview?
Preview and custom filters cover most cases, but they hit limits with certain files: scanned PDFs packed with high-resolution images, PDFs exported from complex layout software, or documents where you need repeated rounds of heavy downsampling to hit a target size.
The catch with most online compressors is that they require uploading your file to a server you don't control, which is a real concern if the PDF contains contracts, medical records, or financial statements. Browser-based local processing avoids that problem entirely by keeping the file on your machine the whole time.
That's the model FlowPDF uses:
- Open the FlowPDF compress tool in your browser.
- Drag the PDF in. It never leaves your device.
- Choose your compression level.
- Download the result directly.
It runs in any modern browser on macOS, with no account and no software to install. For scanned documents specifically, FlowPDF's scan-to-PDF tool can also help produce a cleaner starting file before you compress it.
What's the Fastest Way to Shrink a PDF Before You Even Compress It?
Compression works better on a file that isn't carrying dead weight. A few minutes of cleanup before you export often beats fighting with compression settings afterward.
- Delete pages you don't need, especially blank scanner pages or cover sheets.
- Crop excessive white margins, particularly on scanned documents. FlowPDF's crop tool handles this without any upload.
- Convert embedded PNGs to JPEG where photographic detail doesn't matter.
- Downsample images to 150 to 200 DPI if the file is headed to a screen or inbox rather than a printer.
- Flatten annotations or layers you no longer need to edit.
- Use a linearized PDF for anything meant to load quickly on a website, since it lets a browser render the first page before the whole file downloads.
Pro Tip: Always work from a duplicate. Compression is one-way once you overwrite the original, and Apple itself recommends exporting to a new file so you can compare the results side by side.
Why Didn't Compression Shrink Your PDF File Size?
A handful of quick checks solve most compression complaints.
- If the size barely budged, the PDF is probably mostly text or vector graphics, which don't compress the way photos do. Check Finder's Get Info panel before and after to confirm what actually changed.
- If images look blocky or muddy at full zoom, your JPEG quality setting was too aggressive or the downsample DPI was too low. Rebuild your custom filter with a higher percentage or try FlowPDF's rendering instead.
- Always inspect pages at 100 percent zoom, not thumbnail view. A filter can look fine as a preview and fall apart on close inspection.
- If a result disappoints, revert to your saved original and try a gentler setting.
Why Built-In Tools Beat Most Online Converters, Most of the Time
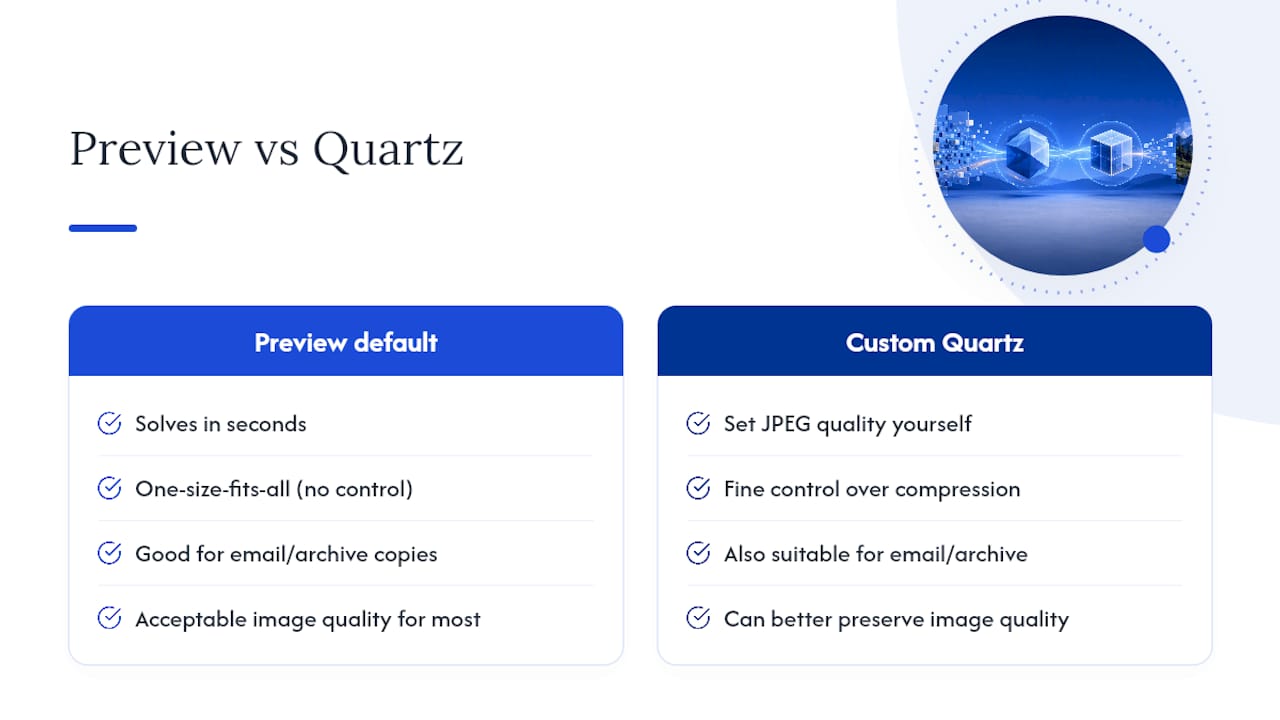
Testing these methods side by side makes the trade-offs obvious. Preview's default Reduce File Size filter solves the problem for casual users in seconds, and it's genuinely good enough for most email attachments and archive copies. Where it falls short is control: a custom Quartz filter fixes that by letting you set the JPEG quality yourself instead of accepting Apple's one-size-fits-all compression.
Automator is the piece people skip and shouldn't. Once you've built a filter you trust, turning it into a Quick Action removes the excuse to keep dragging files through Preview one at a time.
For sensitive documents, FlowPDF remains the option worth defaulting to, since nothing leaves your browser. That single fact matters more than most compression settings combined.
— Ronald Ang
Compress Your PDFs Without Ever Uploading Them
FlowPDF gives you a compress PDF on Mac option that skips the upload step entirely, which matters if you're shrinking contracts, tax documents, or anything else you'd rather not send to a stranger's server. Every tool runs locally in your browser, stays free with no watermark, and covers more than compression: editing, merging, splitting, and redacting are all built in.
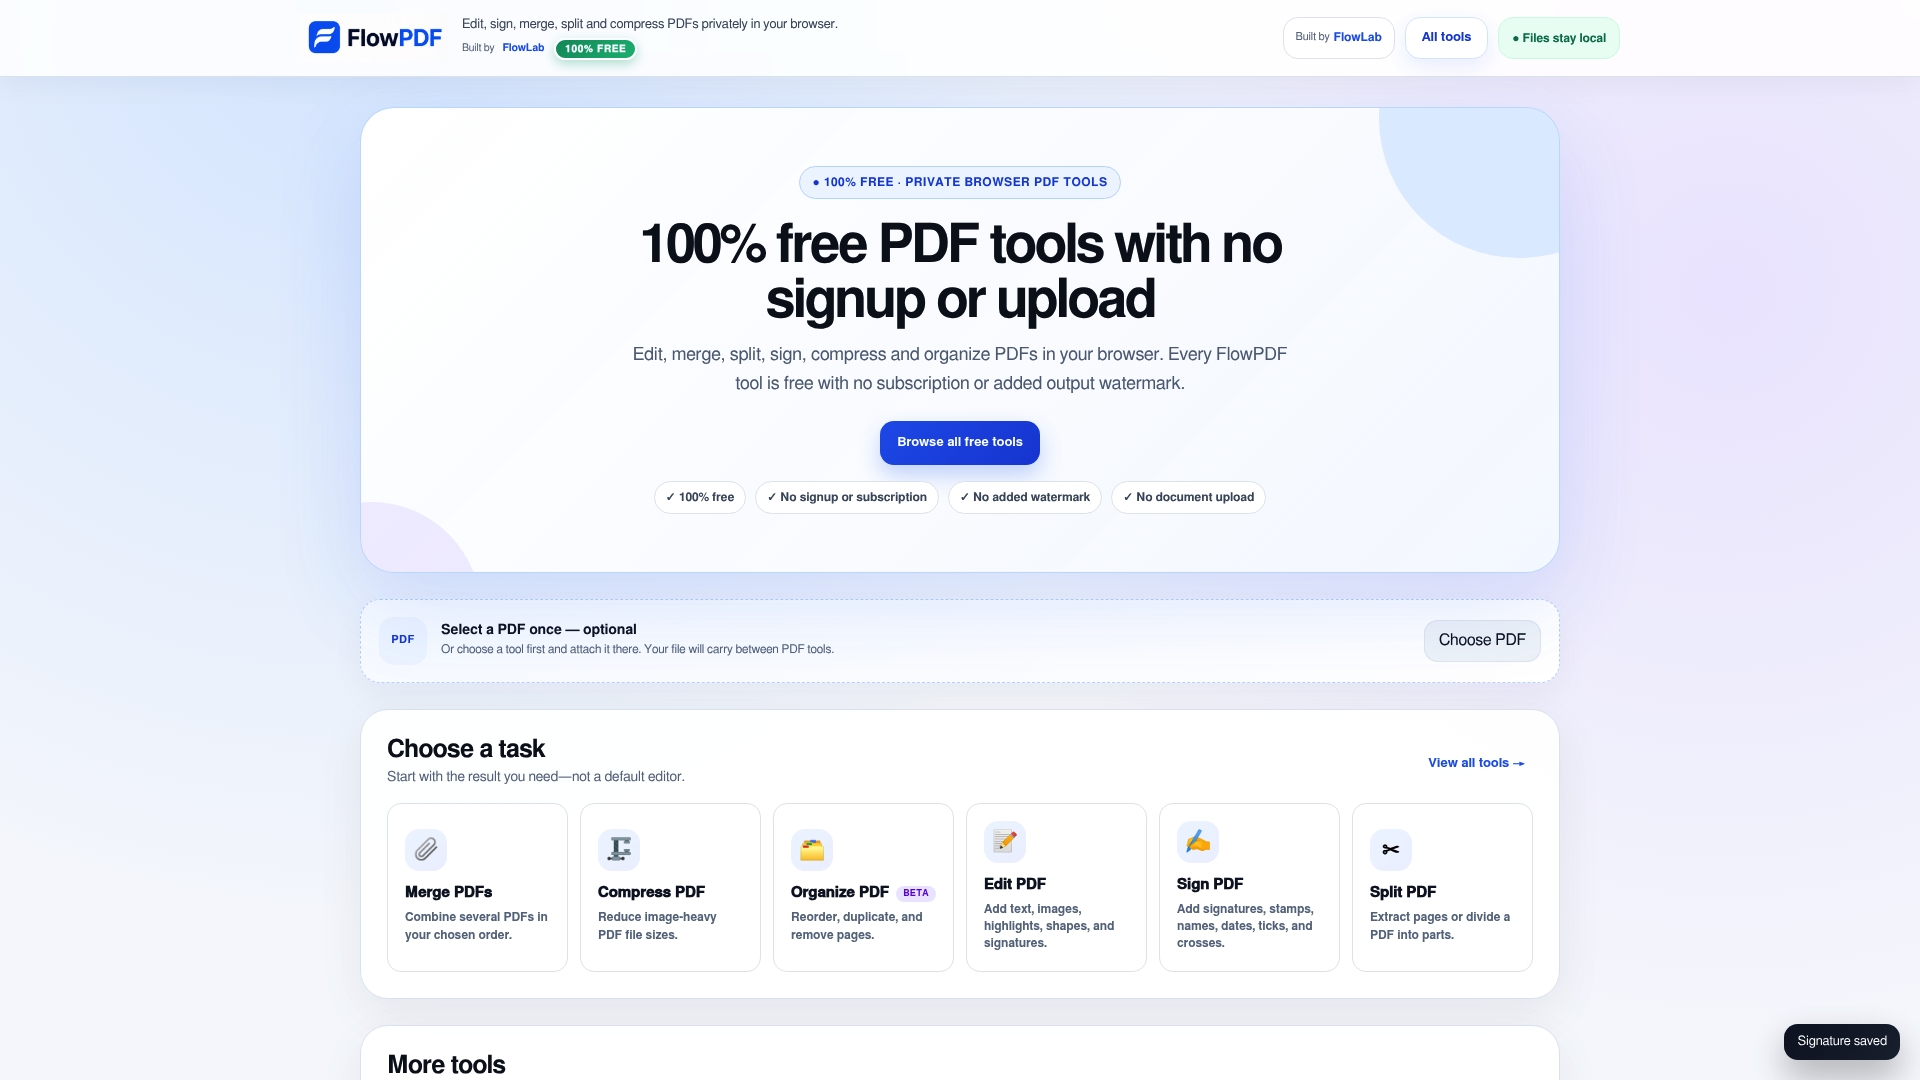
Getting started takes about thirty seconds. Open FlowPDF's compress tool, drag your PDF into the browser window, pick a compression level, and download the smaller file. It runs in any current macOS browser, and there's no install required. If you're testing it for the first time, try it on a duplicate file first so you can compare the before and after yourself. Once you've seen the size difference, the rest of FlowPDF's toolset is worth a look for whatever comes after compressing.
Sources
For step-by-step accuracy, this article draws on Apple's Preview compression guide, MacMost's Automator walkthrough, and FlowPDF's local processing documentation.
- Compress PDFs On Your Mac With Preview or an Automator Quick Action - MacMost