To add an image to a PDF, open the file in a PDF editor and use the Add Image function, or use a local, in-browser editor like FlowPDF to place the picture and save without uploading anything. Most tools accept JPEG, PNG, HEIC, or WebP files. Once the image sits where you want it, save or download the updated PDF and open it in a second reader to confirm it looks right.
Here's the quickest path if you're in a hurry:
- Open your PDF in FlowPDF's Edit PDF tool.
- Choose Add Image, pick your file, and drag it into place.
- Resize with the corner handles, then download the finished PDF.
Because the entire process runs locally in your browser, your document never leaves your device.
Key Takeaways
Adding an image to a PDF takes only a few clicks in the right editor, and a local, in-browser tool keeps the entire file on your own device throughout the process.
| Point | Details |
|---|---|
| Fastest method | Use an editor's Add Image function or a local in-browser tool like FlowPDF to skip uploads entirely. |
| Format matters | JPEG suits photos; PNG or WebP works better for graphics and logos that need transparency. |
| Resolution by use case | Target 150 to 300 DPI for print and 72 to 150 DPI for screen-only documents. |
| Fix display issues fast | Check layer order, swap in higher-resolution images, and compress oversized files before resending. |
| Try it privately | FlowPDF lets you add images and download the finished PDF without uploading your file anywhere. |
Table of Contents
- How Do You Add an Image to a PDF Online Without Uploading?
- How Do You Insert an Image Into a PDF Using Desktop Software?
- Can You Add a Picture to a PDF on Your Phone?
- What's the Best Image Format and Size for a PDF?
- Why Won't My Inserted Image Show Up Correctly?
- When Should You Use a Quick Browser Edit vs. Full Desktop Software?
- Add Images to Your PDFs Without Ever Leaving Your Browser
- Sources
How Do You Add an Image to a PDF Online Without Uploading?
Browser-based editors have gotten good enough that most people no longer need desktop software just to drop a logo, signature, or photo into a document. The trick is finding one that processes your file on your own computer rather than shipping it to a server somewhere. That distinction matters more than most people realize, especially for contracts, ID scans, or anything with a client's name on it.
Here's the process using a local editor like FlowPDF:
- Open your file. Drag and drop the PDF into the editor, or click Select File to browse your computer.
- Find the Add Image option. Look for Edit → Add Image (some tools label it Insert Image or Insert Page, depending on whether you want the picture layered on an existing page or added as its own page).
- Choose your image file. Pick a JPG, PNG, HEIC, or WebP file from your disk. Canva's PDF editor supports the same format range, so you're not locked into one file type.
- Place and size it. Click where you want the image to land, or click and drag to draw a box that sets its size right away. Most editors give you corner handles for resizing and a rotation control if the image needs straightening.
- Check the layering. If you're stacking an image over text or another graphic, use the bring-to-front or send-to-back controls so nothing gets hidden behind something else.
- Save or download. Once the placement looks right, save the file or download the new version to your device.
- Verify in a second reader. Open the finished PDF in a different app or browser tab to confirm the image displays correctly and the file isn't corrupted.
FlowPDF runs this entire sequence inside your browser using local processing, so the PDF and the image you're inserting stay on your machine the whole time. You can confirm exactly how that works on FlowPDF's how it works page, which walks through the technical side of the no-upload approach. Tools built this way, including options that rely on WebAssembly like iFillPDF's page-insert tool, avoid the privacy exposure that comes with sending a file to a remote server just to make a simple edit.
Pro Tip: If you're adding the same logo or signature to multiple documents, save it as a PNG with a transparent background first. It'll sit cleanly on top of text without a white box around it.
How Do You Insert an Image Into a PDF Using Desktop Software?
Desktop editors handle the job with a similar sequence, though the interface usually gives you finer control over positioning and print output. Adobe Acrobat's own documentation lays out the standard steps for adding an image: open the file, go to Edit PDF, select Add Image, choose your file, then click or drag to place and resize it.
The workflow breaks down like this:
- Open the PDF in your desktop editor and select Edit PDF → Add Image from the toolbar.
- Choose the image file from your computer, then click to drop it in or drag out a box to set the size immediately.
- Use the crop tool if you only need part of the image, and the rotate handle if it's sideways or upside down.
- Adjust alignment so the image lines up with margins or existing content, and set the layer order if it overlaps other elements.
- Save your changes with Save, or use Save As if you want to keep the original file untouched.
Desktop tools tend to shine when you need print-quality output. If color accuracy or fine detail matters, such as a product photo or a printed brochure, prepare the image in a dedicated image editor first. Adjust brightness, crop tightly, and export at your target resolution before you ever bring it into the PDF. Trying to fix color balance or sharpness after the image is already placed usually produces worse results than fixing it beforehand.
One thing to expect: desktop software sometimes takes a beat longer to open large files compared to a lightweight browser tool, since it's loading the entire application rather than just a webpage. For quick one-off edits, that difference is barely noticeable. For heavy, image-dense documents, it can add up.
Can You Add a Picture to a PDF on Your Phone?
Yes, and it's often the fastest option if you're already holding the photo on your phone. Most mobile PDF apps and mobile-capable browser editors offer the same Add Image function you'd find on desktop, just with a touch-friendly layout.
- Open the PDF in a mobile PDF editor app, or load a browser-based editor directly in your phone's browser.
- Use camera-to-PDF scanning if you're photographing a physical document or page you want inserted, or select an existing photo from your camera roll to place into the PDF.
- Watch for file-size limits. Phone cameras often produce images well over 10MB, and some upload tools have practical upper bounds on individual image sizes, which can affect large photo uploads, as Canva notes in its editor guidance. Resize or compress large photos before inserting if the editor seems to stall.
If you're scanning a physical page rather than inserting an existing photo, a dedicated scan-to-PDF tool handles the camera capture and page conversion in one step, which saves you from juggling a separate scanning app.
Pro Tip: Turn off HDR or "Smart HDR" on your phone's camera before photographing a document. It often oversharpens text edges and can make scanned pages look grainy once compressed into a PDF.
What's the Best Image Format and Size for a PDF?
Picking the right format before you insert an image saves you from redoing the work later. JPEG works best for photographs since it compresses well without an obvious quality drop. PNG or WebP make more sense for logos, screenshots, or anything with sharp edges or transparency, since JPEG compression tends to blur fine lines. HEIC works fine if your editor supports it, but converting to JPEG first avoids compatibility headaches on older software.
Resolution depends on where the PDF is headed:
- For print: aim for 150 to 300 DPI, and resize the image to its intended physical dimensions before inserting it. Adobe recommends sizing images at their target dimensions and around 300 DPI to avoid the blurriness that comes from stretching a small image to fill a large space.
- For screen viewing: 72 to 150 DPI is plenty, since anything higher just inflates file size without a visible benefit on a monitor or phone screen.
If file size is a concern, whether you're emailing the document or uploading it somewhere with a size cap, compress the image before inserting it, or compress the finished PDF afterward. A moderate quality setting, somewhere around 70 to 80 percent for JPEG, usually keeps images looking sharp while cutting file size significantly.
Why Won't My Inserted Image Show Up Correctly?
A handful of issues account for most inserted-image headaches, and nearly all of them have a quick fix.
- The image is hidden behind other content. Check the layer order and bring the image to the front, or flatten the layers before you export the final file.
- The image looks pixelated or blurry. This usually means the source file was too small for the space it's filling. Swap in a higher-resolution version and resize it properly rather than stretching the low-res original.
- The PDF got huge after adding the image. Strip unused metadata and compress either the image or the whole PDF. A compression tool can shrink the file substantially without a noticeable quality hit.
- The image displays fine on your device but not another's. Always open the finished PDF in a second reader, and ideally on a different device, before sending it out. Rendering quirks between apps are more common than people expect.
Pro Tip: If an image vanishes after saving, it's often an export setting flattening layers in the wrong order. Reopen the file, check the layer stack, and re-save rather than starting the whole insert from scratch.
When Should You Use a Quick Browser Edit vs. Full Desktop Software?
Reach for a local, in-browser tool when speed and privacy matter more than granular control, which covers most everyday tasks like adding a signature or a single photo. Switch to desktop software only when you need tight print-quality control or heavy image editing before placement. One habit worth building: standardize image sizes for documents you create repeatedly, so every version stays visually consistent without extra resizing each time.
— Ronald Ang
Add Images to Your PDFs Without Ever Leaving Your Browser
FlowPDF handles the entire image-insertion process locally, so your contracts, scans, and photos never touch a remote server, and you never hit a paywall or a watermark trying to finish a simple edit.
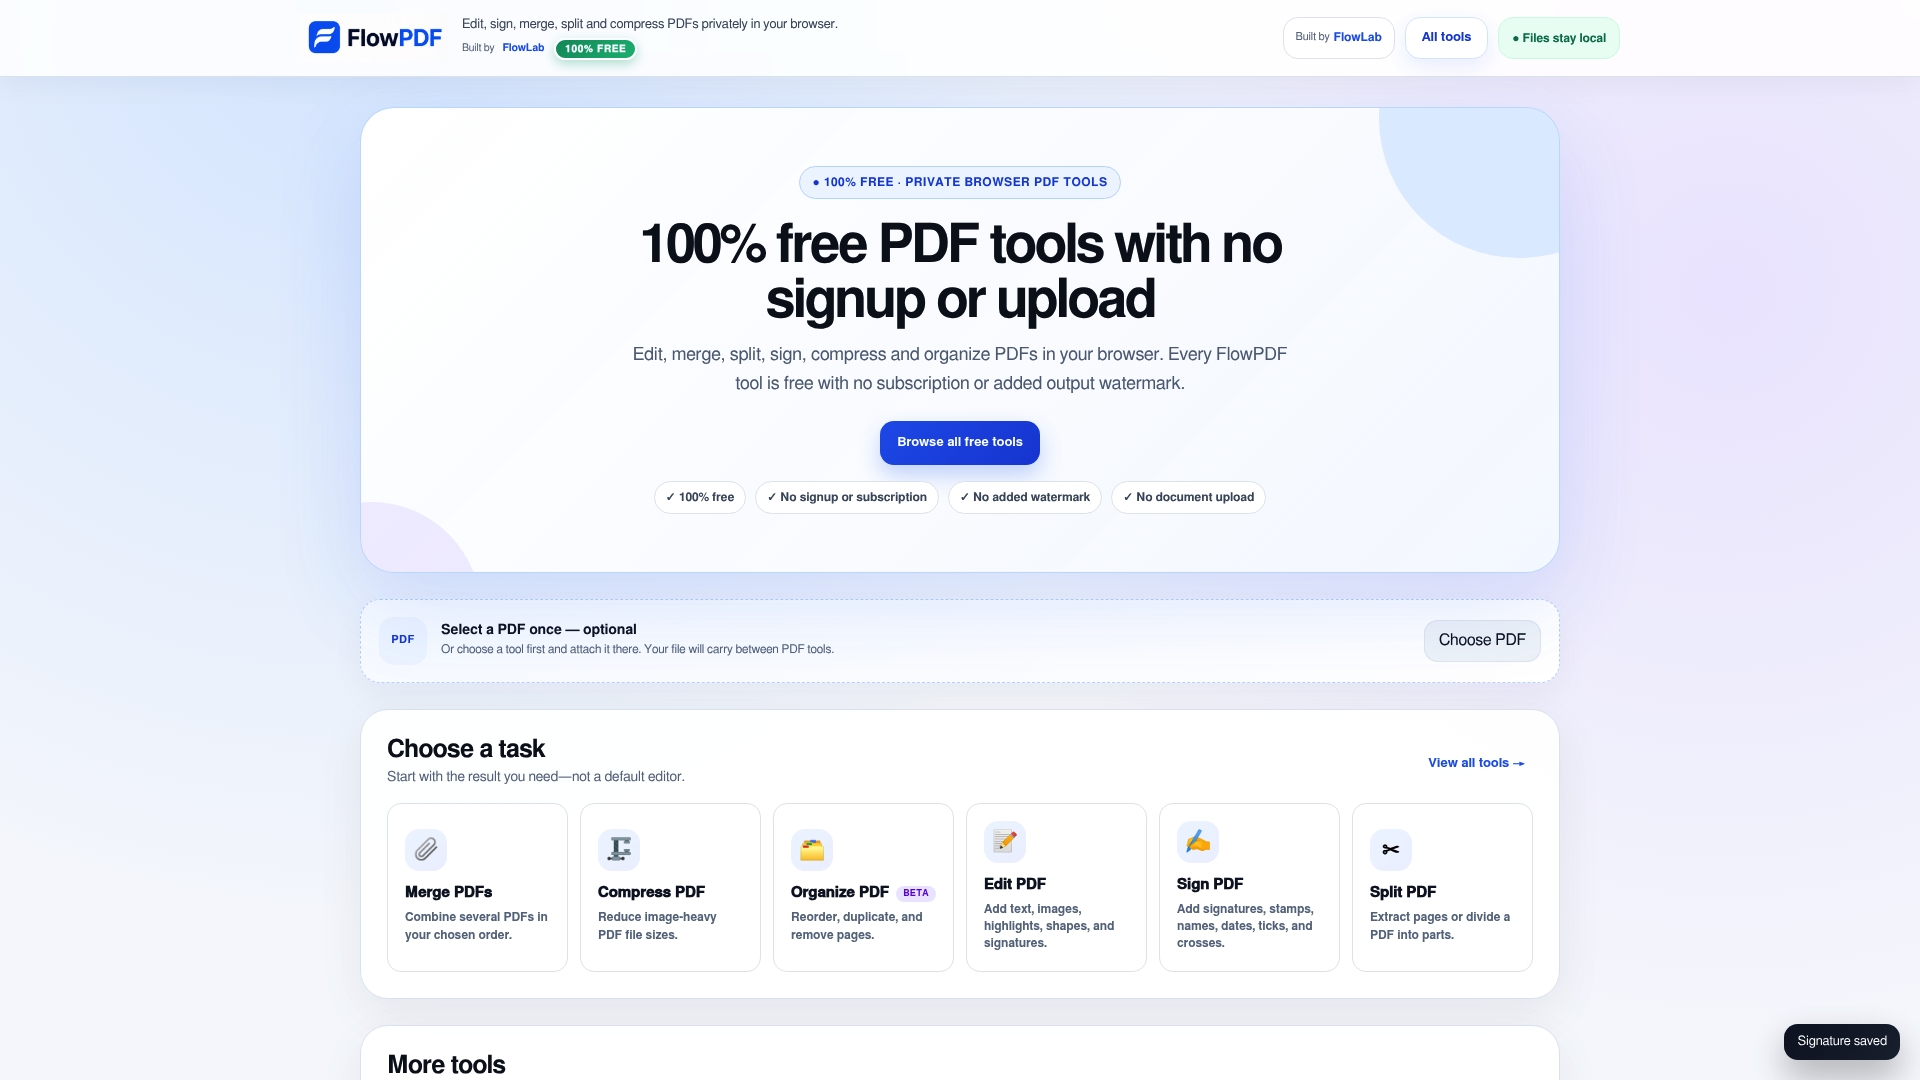
The Edit PDF tool supports JPG, PNG, and HEIC files, letting you place, resize, and layer images directly on any page in seconds. Every operation happens on your own device using local processing, a setup explained in detail on FlowPDF's how it works page, so there's no upload step and nothing sitting on a third-party server while you work. If your document grows too large after inserting a few photos, FlowPDF's compression tool takes care of that too, all without asking for a signup or a subscription. Open your PDF now and add your first image directly in your browser.